Hopalong Hollow....

Hopalong Hollow, where the Blueberries grow sweet, and the moss feels soft beneath your feet.

Showing posts with label mamsey teddy bear. Show all posts

Thursday, January 30, 2014

HAUTE COUTURE of the Hollow ;Dressing a Mamsey Bear, part 2

  All the little seamstresses threaded their needles and  gathered their twist..
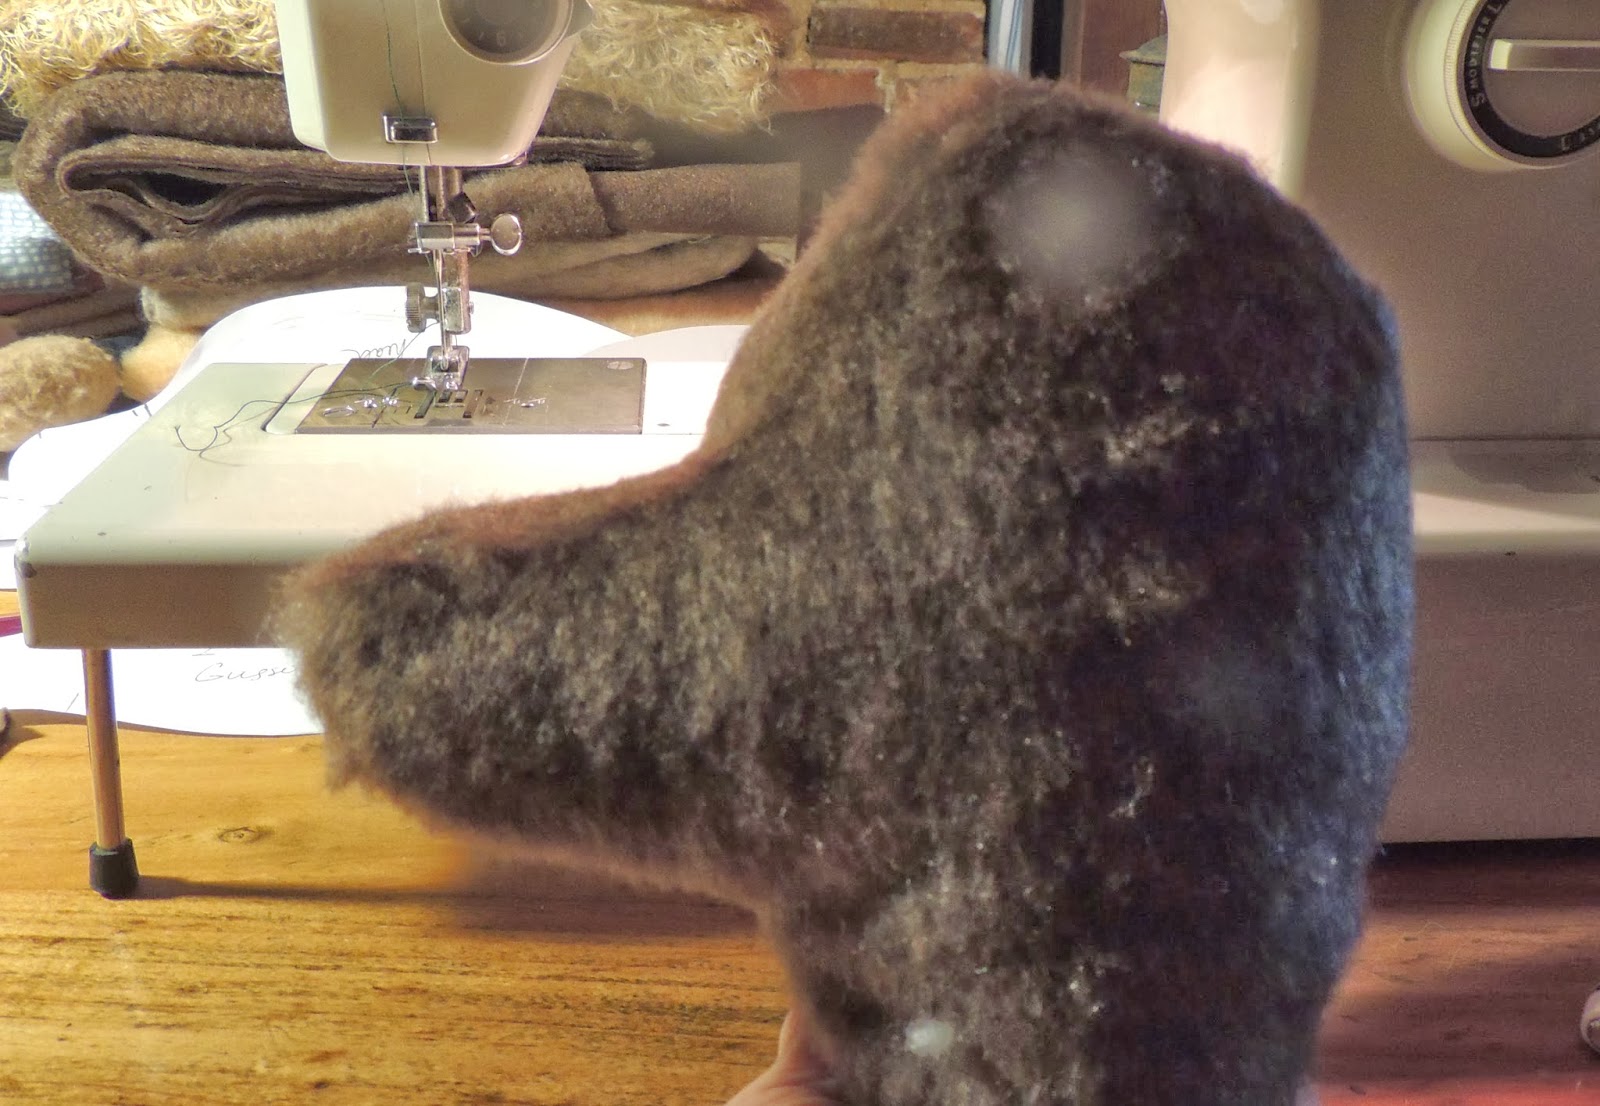
 The tailor shop was abuzz with activity all week long;

Measuring, cutting, sizing patterns and stitching up a storm!
When it 
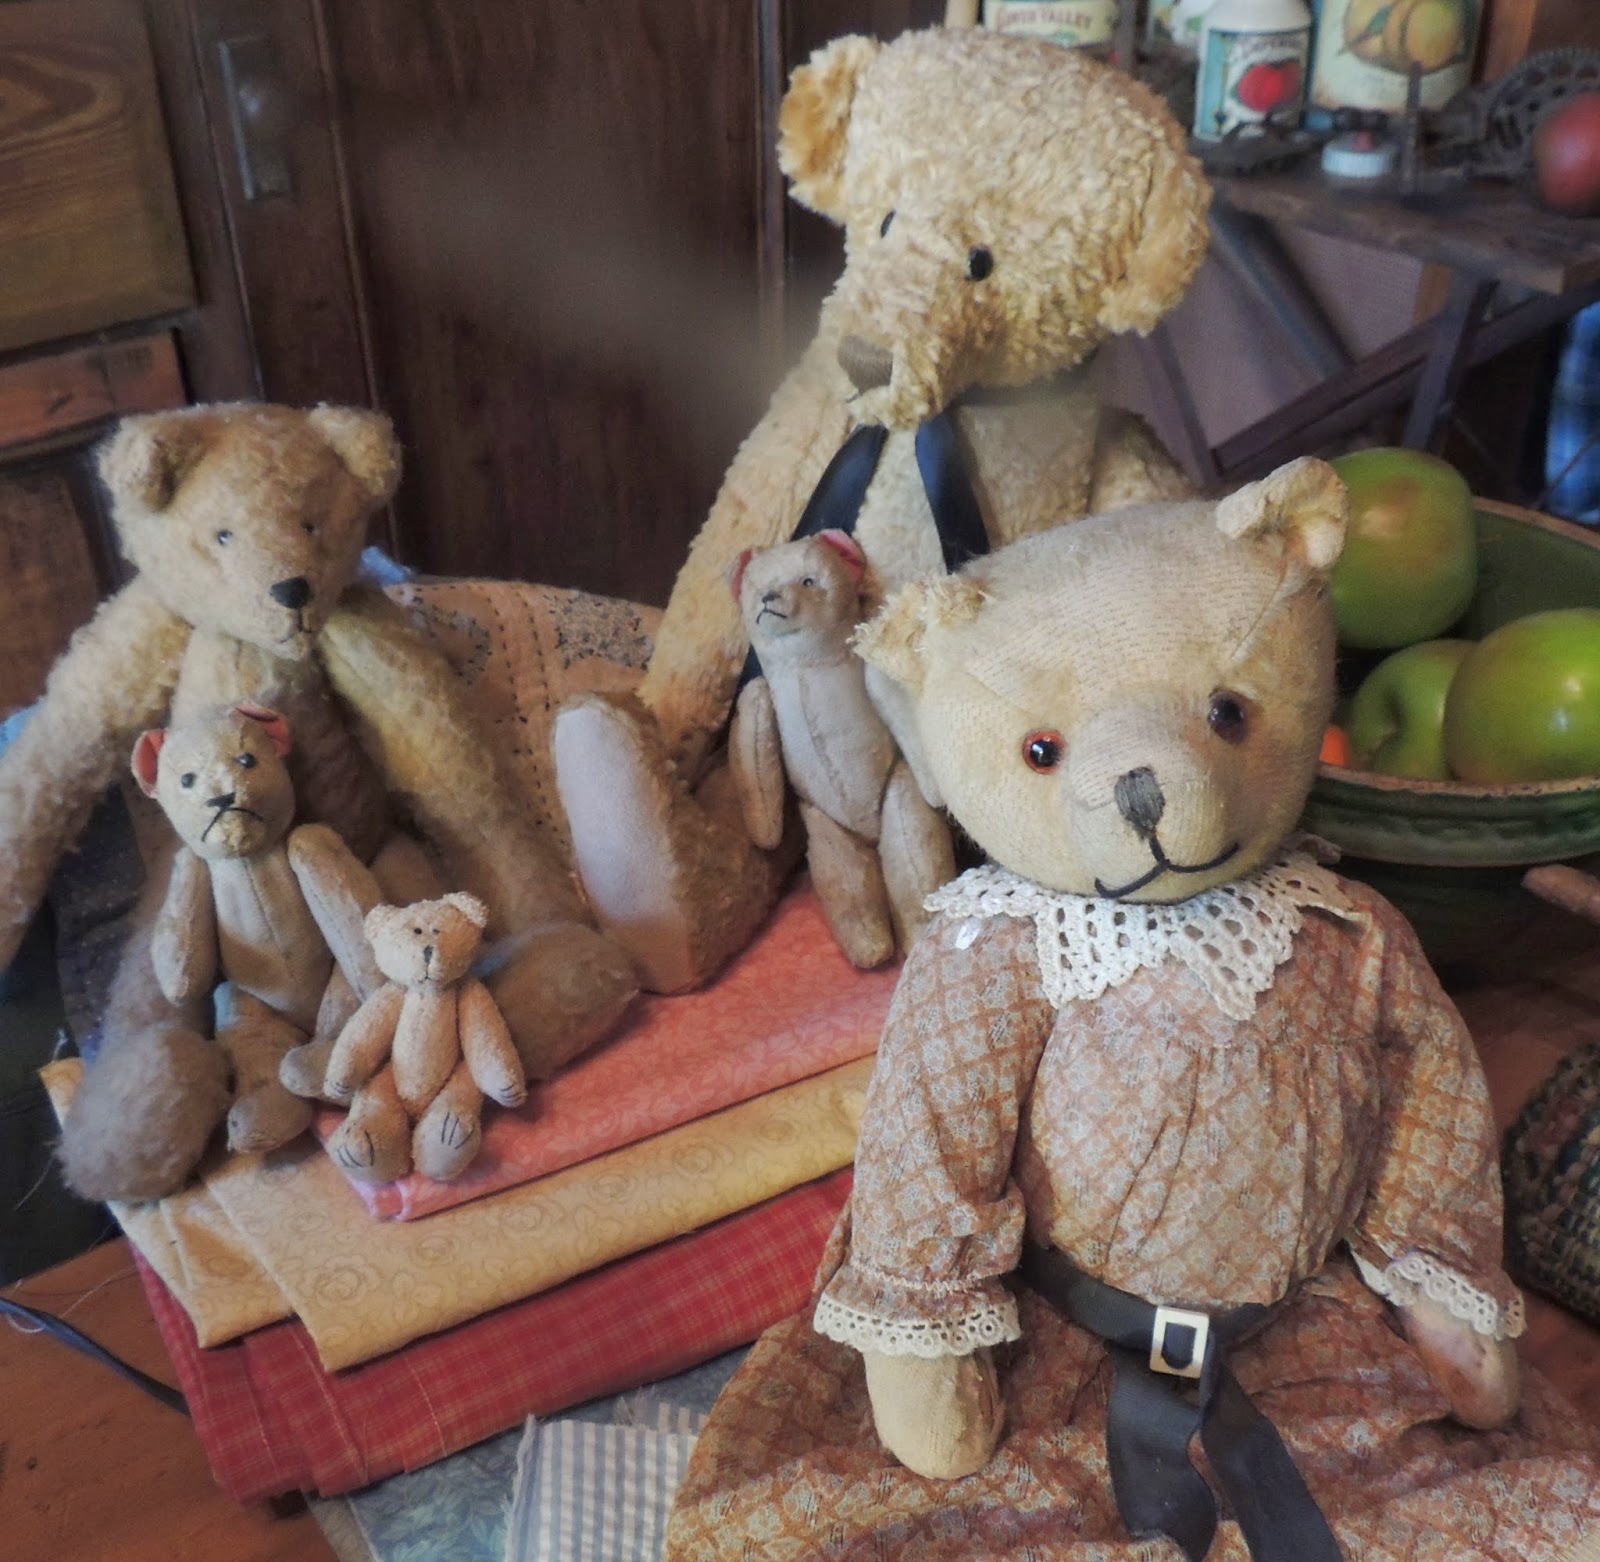
comes to BEAR, one size does not fit all and Mamsey is a perfect example: small waist, very large hips and bottom, all befitting a mother grizzly.
She sat patiently for all her fittings, she is a very gracious lady.
 Paper towels make great patterns..
And little chippys make tiny stitches.

.

The Milliners were busy making bonnets for a bear size head...
 Using the Mistress's old straw hats and scraps of fabric.
.

Waistcoats are fitted and pinned....to perfection. Mamsey sits  for hours and hours
,
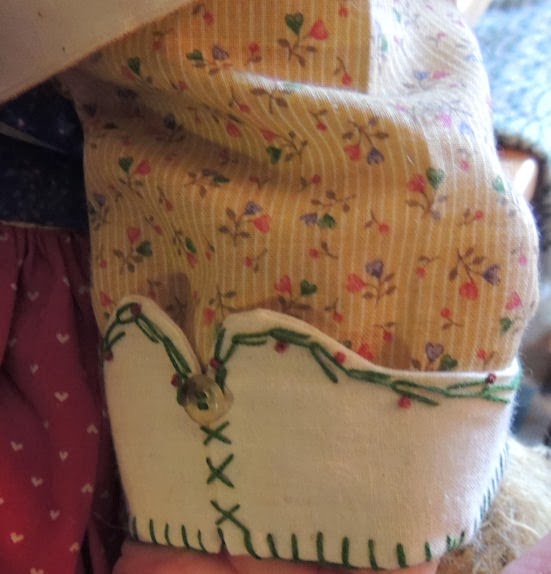
Our seamstresses add special touches to cuffs and collars.


Last minute care is taken to sew hems just the right length..
one last stitch and a final knot, finished!

 And NOW, Fashions fit for a Woodland Bear!
Presenting
 Haute Couture of Hopalong Hollow

All well dressed bear have at least 2 pair of striped stockings to wear with their wooden clogs, the footwear of choice for bear-folk in the deep woods of the Hollow.
  Mamsey wears her straw bonnet with satin pink ribbon and coordinating floral pink cape adorned with crochet trim. She wears hats with such flair!
.
.

This purple velvet waistcoat is the Color of the night sky and the perfect cut to show off a girlish waist. Add a forest foliage pattern on the green  waist-scarf and you have the essence of tre chic!
 All traveling bear need a stylish embroidered pocket to carry "the perfect needle" and other necessities and a handmade wicker basket to carry one's thread.

All in all, a most charming outfit for a stroll amid the daffodils, or a visit to the Hopalongs and Whiskerkins. A La Mode!
 Yes, this lovely ensemble can be worn for shopping, visiting or wandering in the woods.

 
 Our next outfit is just what a Bear needs for a lovely summer night beneath the stars whilst strumming her harp. In fact, the fabric is filled with summer stars.

. 
This attire is also appropriate for a day of poking about in the garden.
,
A simple but classic little frock with tiny patterned hearts and flowers on  cotton fabrics of red and sunny yellow, worn with or without the apron.

   Add the ladylike apron with delicate stitching on the collar and bitty buttons on shoulder straps and 
 a casual  floppy mop cap...
  And a wool scarf to complete the casual charm for a gentlewoman Bear.

Just as captivating whilst baking a loaf of bread... indeed!

.


 Last but not least in our "High Fashion in the Hollow", a lovely outfit for Market day.
Blue tweed wool is our fabric of choice for this dapper jacket.
  A stylish red and blue tartan for apron and bonnet
blend beautifully with a powder blue skirt with a floral theme.
What a  smart little coat, embellished with
 shiny black buttons. ( Just like Dimity Doormouse's little black eyes!)
 Gossamer grosgrain sky blue ribbon adorns our bonnet and looks FAB tied to the side in a fat bow.
 
  Take a turn Mamsey!

 Take a bow, Dimity Doormouse, Head Seamstress.

Thank you for attending our fashion walk, here in the woods of Hopalong Hollow!
 PS. The bear and her wardrobe patterns will be available in the future, so that YOUR bear can be in vogue, just like ours.  These are easy to sew outfits for anyone with basic sewing skills. I still have quite a few more frocks to sew AND I must make a Mopkin TEDDY Bear along with her wardrobe.
Special thanks to Penny White for creating my Dimity Doormouse in needle felting, she is well loved.


Tuesday, January 21, 2014

Making a Teddy bear... a Mamsey. Part one

        It has always been my intention to create my book characters as stuffed critters to hug as you read.  When it came to making Mamsey Bear and Mopkin, I wanted to design them as teddy bears, including all the outfits they wear in the book. .First, I had to learn how to make a teddy bear again. I have not  sewn a teddy since my 32 year old son was a baby.
 I gathered all manner of information. Each one of these books has bear patterns, but I wanted to make my own pattern. So with pencil and notebook in hand, I drew and cut and crumpled up one paper pattern after another, taking notes and  studying proper techniques. It was trial and error all the way.

.


I gathered together several of my bears to study their "anatomy". Three of these bears are very old and stuffed with excelsior and 3 of them are collector bears from various bear artists.

I am starting with Mamsey, the mother bear. She isn't meant to be an exact replica, but a representation of her book counter-part. Her fur should be blond and wavy, her nose somewhat long and her body stout. Due to the nostalgic nature of my books, I want my bear  to be a  traditional and classically historic teddy with jointed arms, legs and head.  I purchased yards and yards of brown and blond Plush Felt to make the practice parts and it's a good thing I did!
 My first head was too fat and wide. It may work for a Mopkin Pattern though.

This one's forehead is too wide... and the muzzle too thick.
     I love the long nose on this one, however, the head is too large and the back of the head too flat, for my intended 18inch bear.  Back to the drawing board.


Seven heads later, I finally achieved the look I was after.
 I went through the same song and dance with all the body parts. Butt too flat, Tummy too small , arms to long, legs too short.... on and on and on.

.
 Into the basket they go!
 The body parts selection grew and grew, but none of them were Mamsey Bear.
 However, with all these anatomical bits and pieces, I should be able to create quite a few unique bears later on. ...after all, bears come in all shapes and sizes just like we do.
Once I had a pattern I was pleased with, I took a deep breath and laid out the Mohair fabric.This stuff is really beautiful but VERY expensive, 1/4 yd costs $30 and up. Now you know why I used practice fabric to begin with.

.
When cutting into mohair, you slide your scissors between the cloth and the "fur" You don't want to cut the fur, it will just pull apart when you remove the pattern piece.
Lots of pinning to be on the safe side. 
.These are the ears.. I wanted to sew the head first, as it is the most important part.
It was exciting and a bit scary to turn the head inside out but it here she is 
 in her lovely blond Mohair fur, with her nice long nose...

Here she is from the front looking all wild and crazy! Now,  another scary thing to do is to trim her muzzle. Don't want to take off too much fur, take it slowly and carefully. This is where her personality will be formed.
  And determine the final shape of her nose.
 So strand by strand I cut away the mohair from her muzzle until satisfied, Next I tried several different noses using my brown felt patterns  and settled on giving her the wide nose, as in the book.

The felt nose was fabric glued in the proper position and I inserted the amber colored glass eyes.


,


  Next, using the thick and lovely #5 Perle cotton strands, I embroidered  over the felt nose, using it as a template.


So far so good, I just want to kiss her!
 Her ears are attached in the proper place. I refer to my Mamsey book often for reference.

Plastic safety joints are used to attach the limbs and the head. She will be able to swivel her head in any position and, because her arms are moveable, she will be easily dressed.

.

All body parts are ready to attach to her  stout, round tummy.

 She is ready to stuff!
   This lady takes a lot of stuffing, but I want her to be quite firm so that her clothing ( which I will be making next) fits her nicely.

   
Mamsey still needs embroidered claws and more "stitching up". Her fur needs to be teasled around the seams to make them invisible. But her fur is messy and wild, and that is what I want.

I learned a lot with this project and will still need to tweak the pattern a bit more. I will have a much easier time making Mopkin, since I now know what I am doing.  In the next post, I will show you the clothing she will be wearing for her first outfit. In the book, the bears have at least 15 outfits and I am making every single one of them!
 When the entire project is complete, I will offer these bears AND their frocks, as patterns and kits. There will be two ways to make your Mamsey and Mopkin; as a collector bear, using the glass eyes and mohair with wool stuffing OR as a Child safe bear using synthetic fur and plastic safety eyes and polyester stuffing.

Who can resist a Teddy Bear, even James likes her.
 See you next time with  a  finished and fully attired Mamsey!